JetBrains IDEのライブテンプレートは、頻繁に使用するコード構造を迅速に挿入するためのツールです。上手に活用すれば、コードの入力時間を短縮し、生産性向上につながります。ここでは、ライブテンプレートの基本的な利用方法を紹介します。
目次
テンプレートの確認
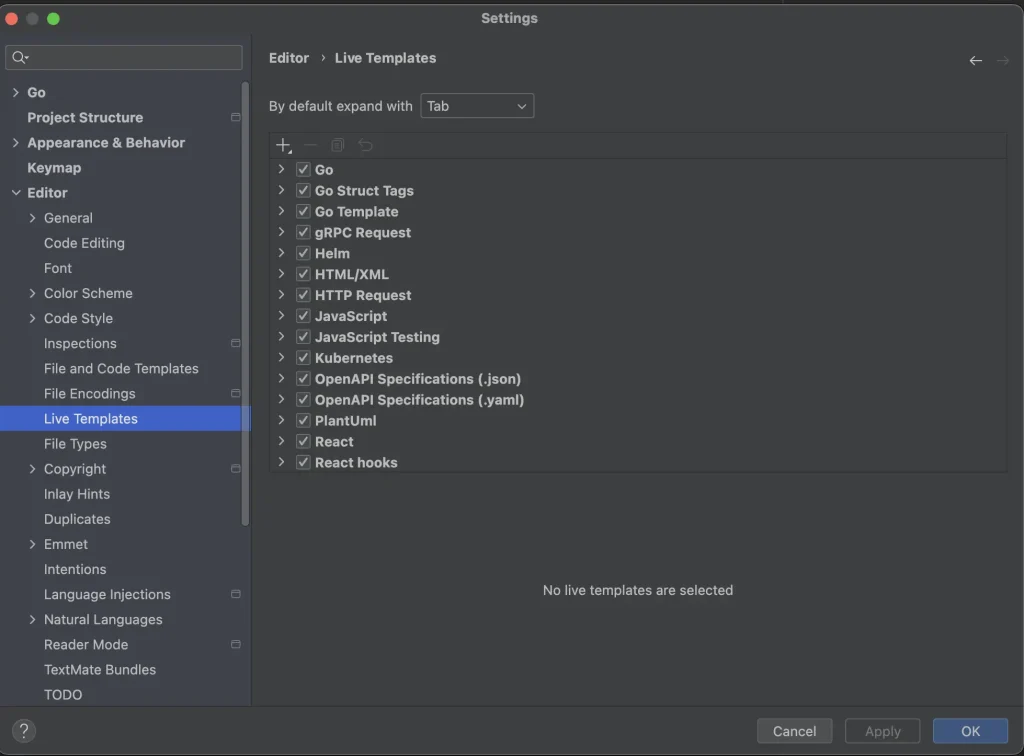
cmd + , でSettingsを開き、Editor – Live Templates を選択します。
ライブテンプレートがグループ化された状態になっています。
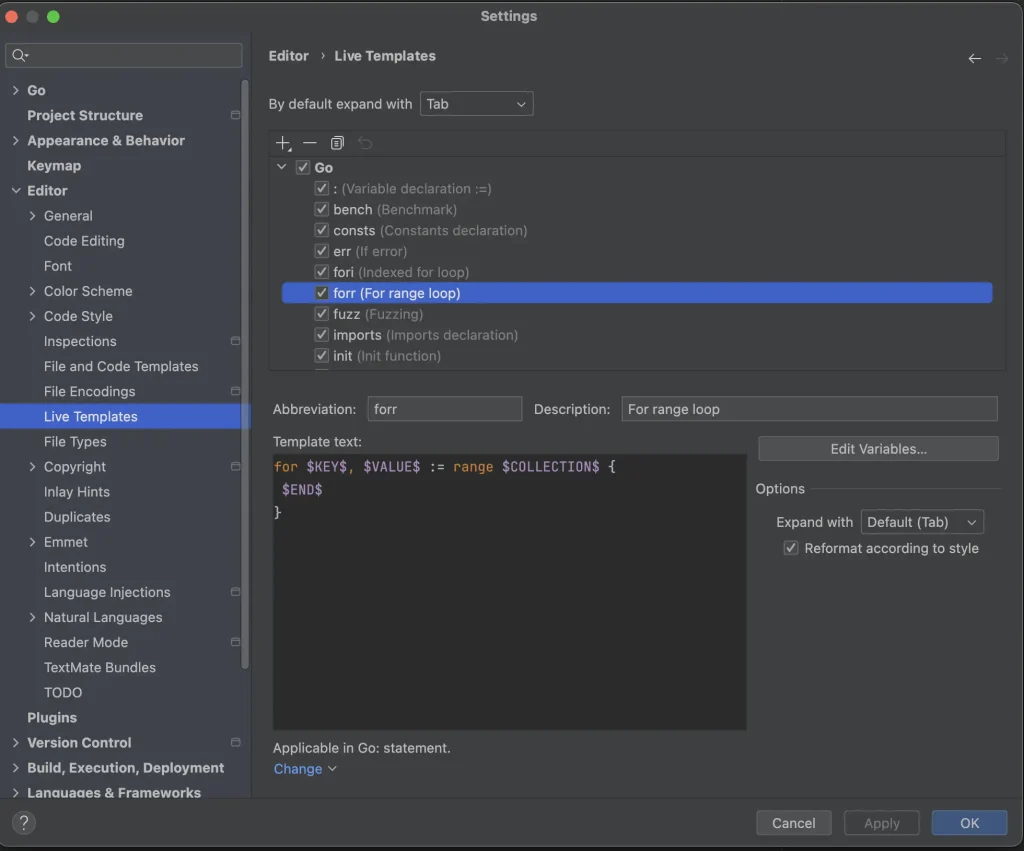
Goグループの forr について確認します。
以下内容が設定されています。
- Abbreviation(略語)
- Description(説明)
- Template text
- Applicable context(使用可能なコンテキスト)
- Edit Variables(変数の編集)
Template textにテンプレート内容を記載します。
$KEY$のように$で囲まれた箇所は変数です。
$END$ は、全ての変数入力が完了したときのカーソルの位置となります。
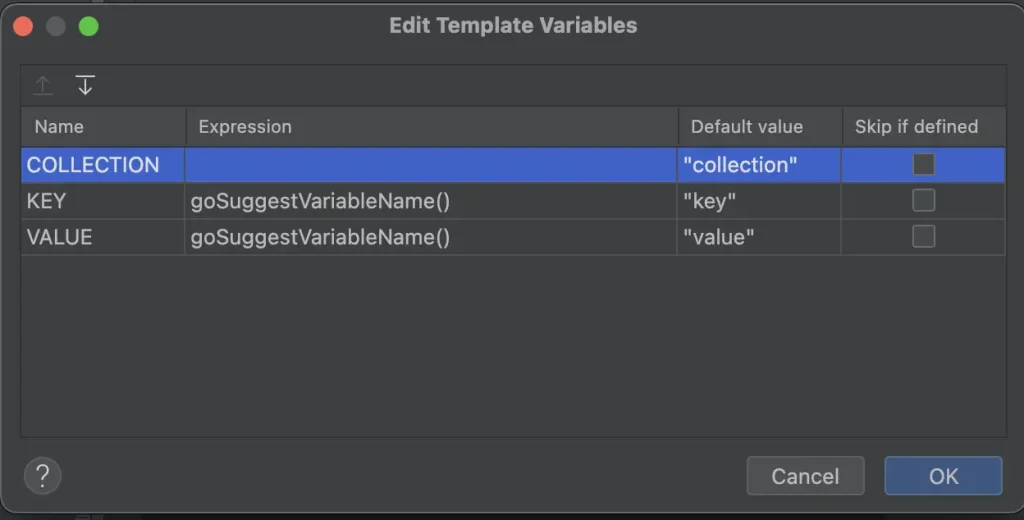
Edit Variablesをクリックすると変数の入力順序・初期値などを指定できます。
いくつか利用可能な関数も提供されいています。https://pleiades.io/help/go/template-variables.html#predefined_functions
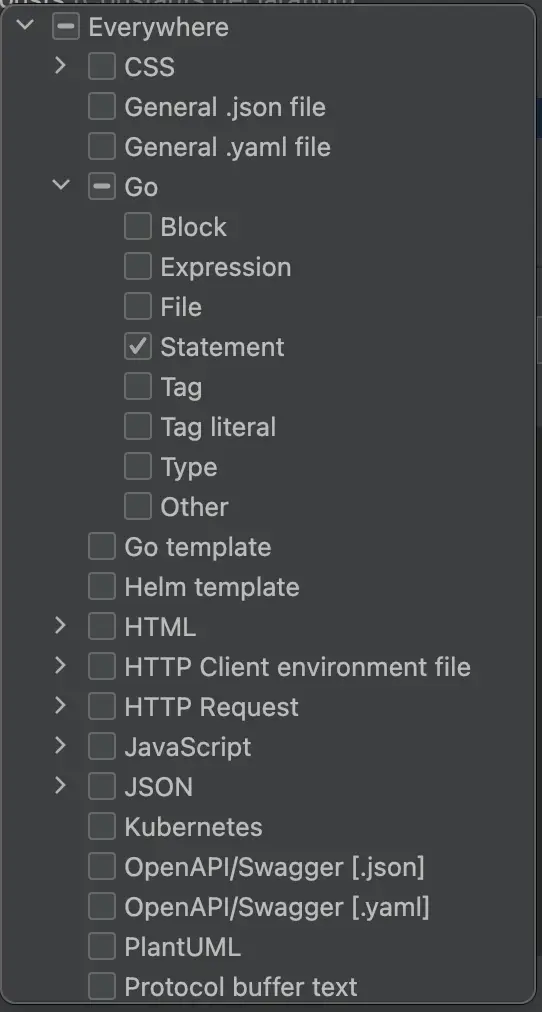
Applicable contextで、ライブテンプレートを利用可能なコンテキストを制限できます。
テンプレートの作成
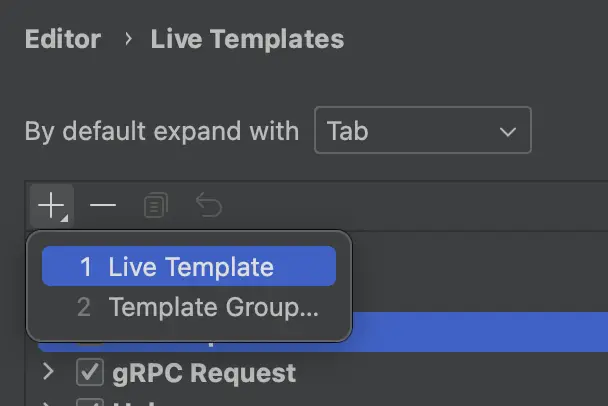
新しくテンプレートを作成するには、左上の+ボタンをクリックします。
なお、テンプレート作成時に、テンプレートグループを選択しない場合、ユーザーグループに追加されます。
テンプレートの利用
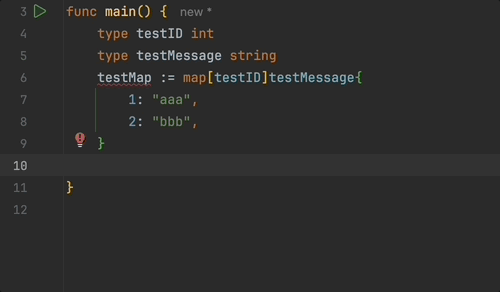
cmd + j をクリックするとテンプレートの略語の候補リストが表示されます。
forr を選択して、変数の箇所を入力しています。
Enter で次の変数箇所に移動します。
(Edit Template Variables の順序で移動)
全ての変数入力が完了すると$END$ の位置に移動します。