goのtestingパッケージには、ベンチマークを行うための機能も提供しています。
ここでは、簡単な例を通じてBenchmarkの取り方を確認します。
目次
測定コード
main.go
例として、以下3つの関数を測定します。
package main

import (
	"fmt"
	"strconv"
)

func ItoaByFmt(n int) {
	var s []string
	for i := 0; i < n; i++ {
		s = append(s, fmt.Sprint(i))
	}
}

func ItoaByStrconv1(n int) {
	var s []string
	for i := 0; i < n; i++ {
		s = append(s, strconv.Itoa(i))
	}
}

func ItoaByStrconv2(n int) {
	s := make([]string, 0, n)
	for i := 0; i < n; i++ {
		s = append(s, strconv.Itoa(i))
	}
}
main_test.go
ベンチマークとして認識させたい場合、以下ルールに従って関数を実装します。
- 関数の名前に
Benchmarkプレフィックスをつける - 関数の引数に
*testing.Bを渡す
package main

import (
	"testing"
)

func BenchmarkItoaByFmt(b *testing.B)      { ItoaByFmt(b.N) }
func BenchmarkItoaByStrconv1(b *testing.B) { ItoaByStrconv1(b.N) }
func BenchmarkItoaByStrconv2(b *testing.B) { ItoaByStrconv2(b.N) }
実行
go test -bench .
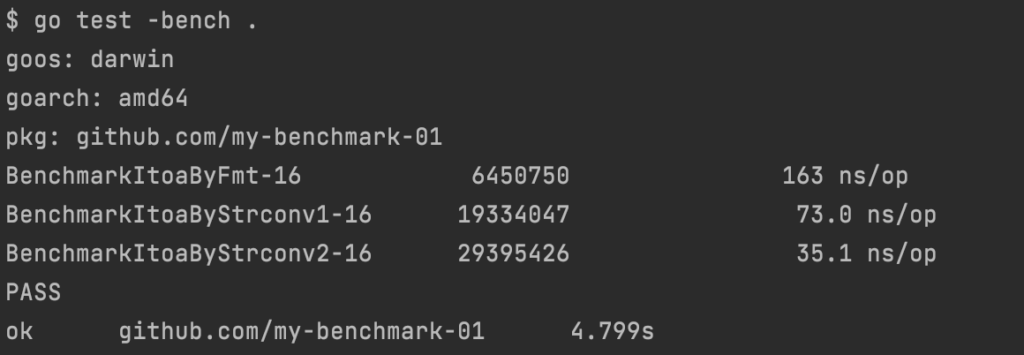
BenchmarkItoaByFmt-16 から以下情報が読み取れます。
- CPU数 =
16 - 実行回数 =
6450750回 - 1回あたりの処理時間 =
163ns
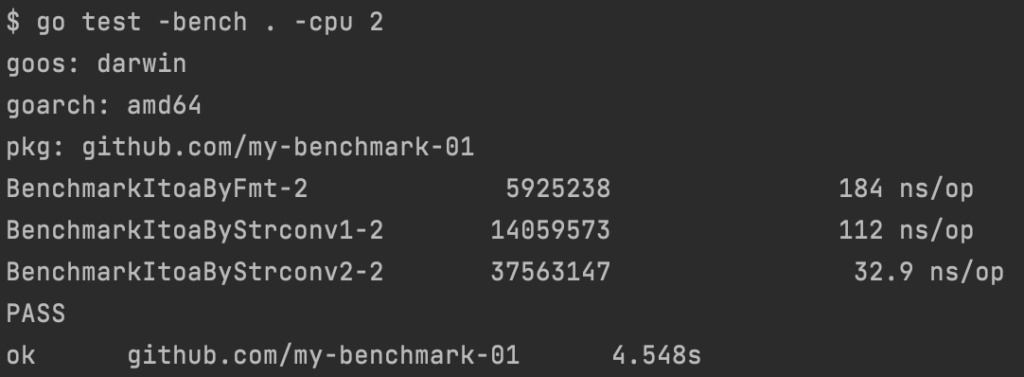
go test -bench . -cpu 2
cpu数を変更できます。
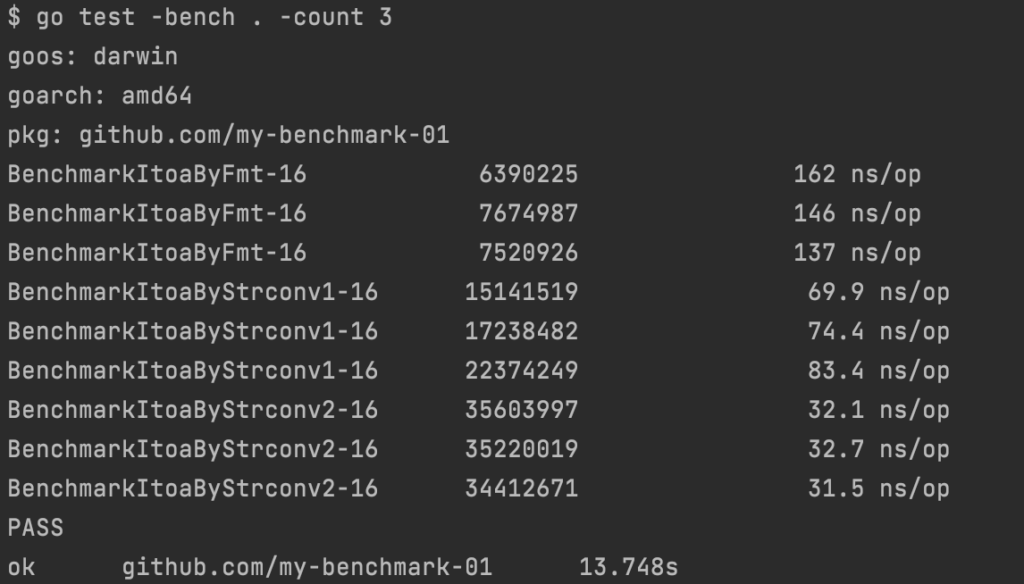
go test -bench . -count 3
ベンチマークを取る回数を変更できます。
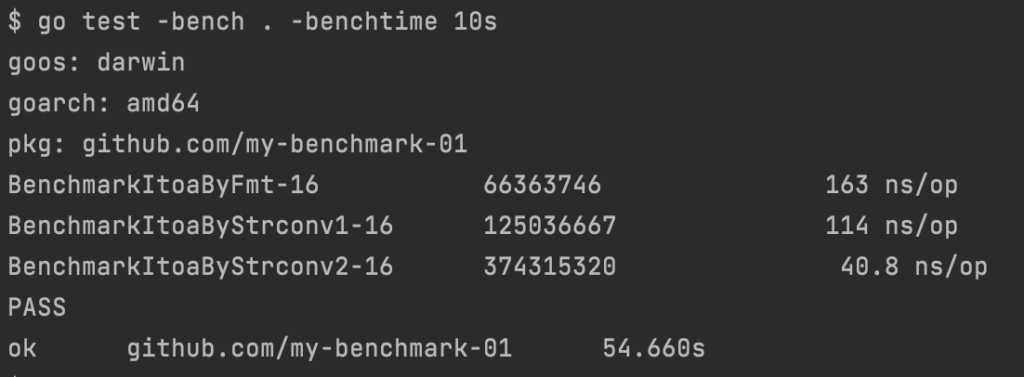
go test -bench . -benchtime 10s
ベンチマークの実行時間を変更できます。
(デフォルトは1秒です。)
go test -bench . -benchmem
メモリ割り当て統計も出力できます。

プロファイリングをWebで確認
前準備
graphvizが必要なのでインストールしておきます。
# macの場合
brew install graphviz
go test -bench . -cpuprofile cpu.out
CPUプロファイルを作成して、Webで確認します。
go test -bench . -cpuprofile cpu.out
go tool pprof -http=":8888" cpu.out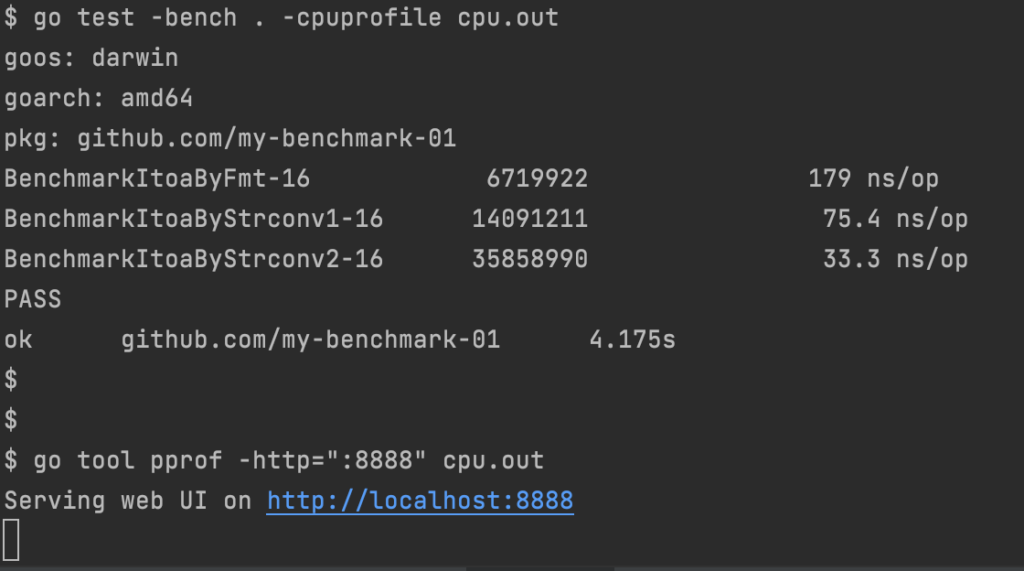
http://localhost:8888/ にアクセスします。
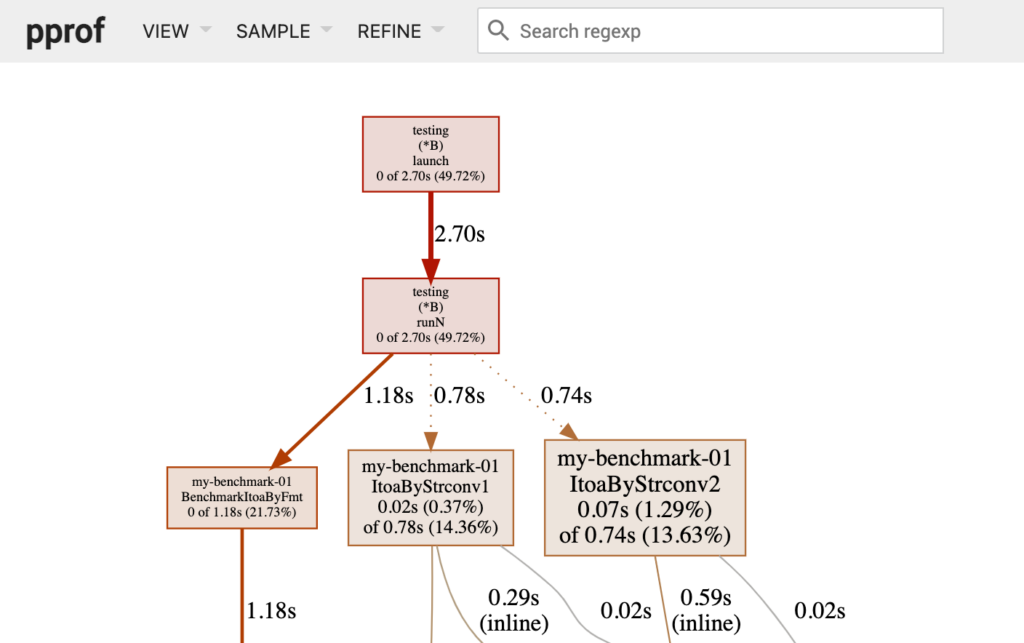
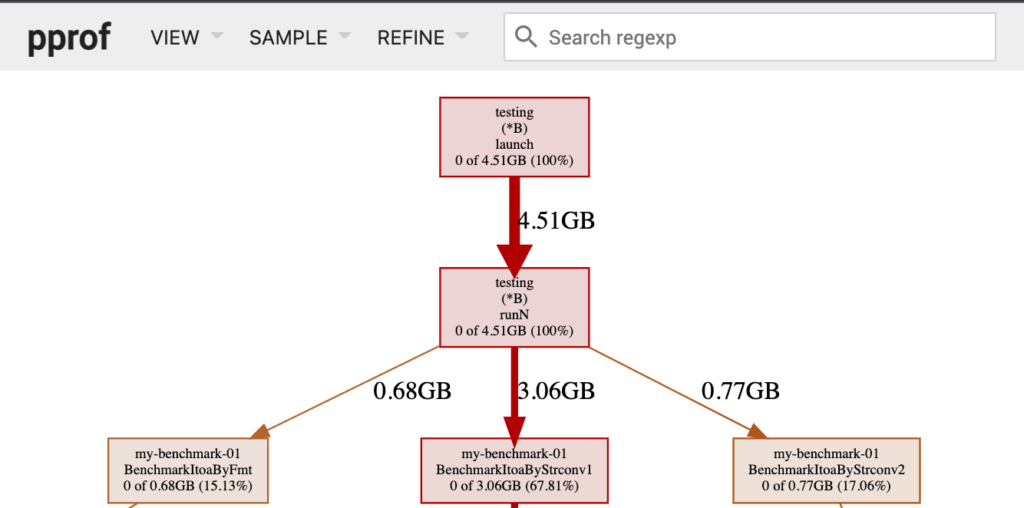
go test -bench . -memprofile mem.out
Memoryプロファイルを作成して、Webで確認します。
go test -bench . -memprofile mem.out
go tool pprof -http=":8888" mem.out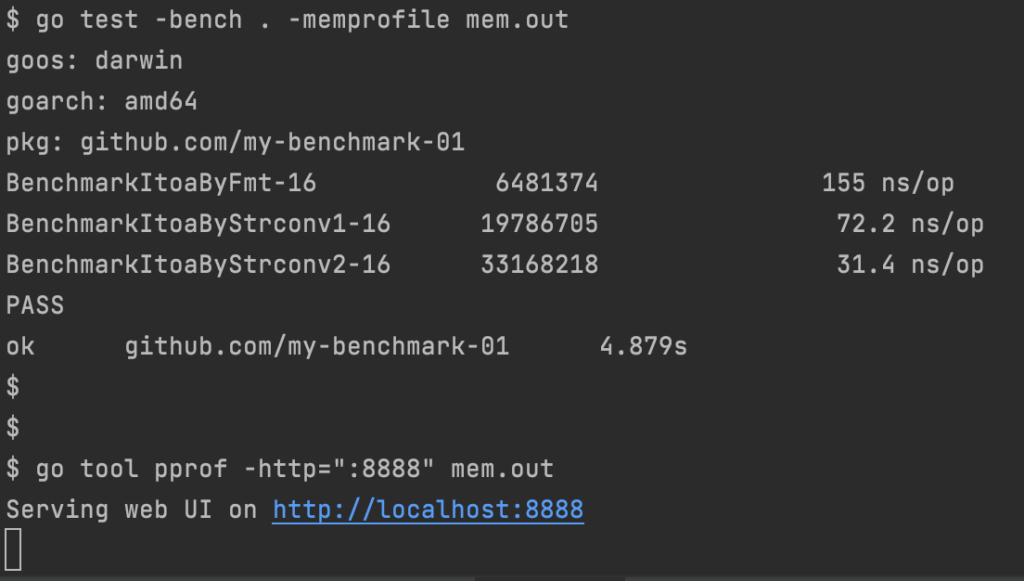
http://localhost:8888/ にアクセスします。
